Bollinger Bands Strategy for Day Trading — Setup and Backtest Guide
By HorizonAI Team
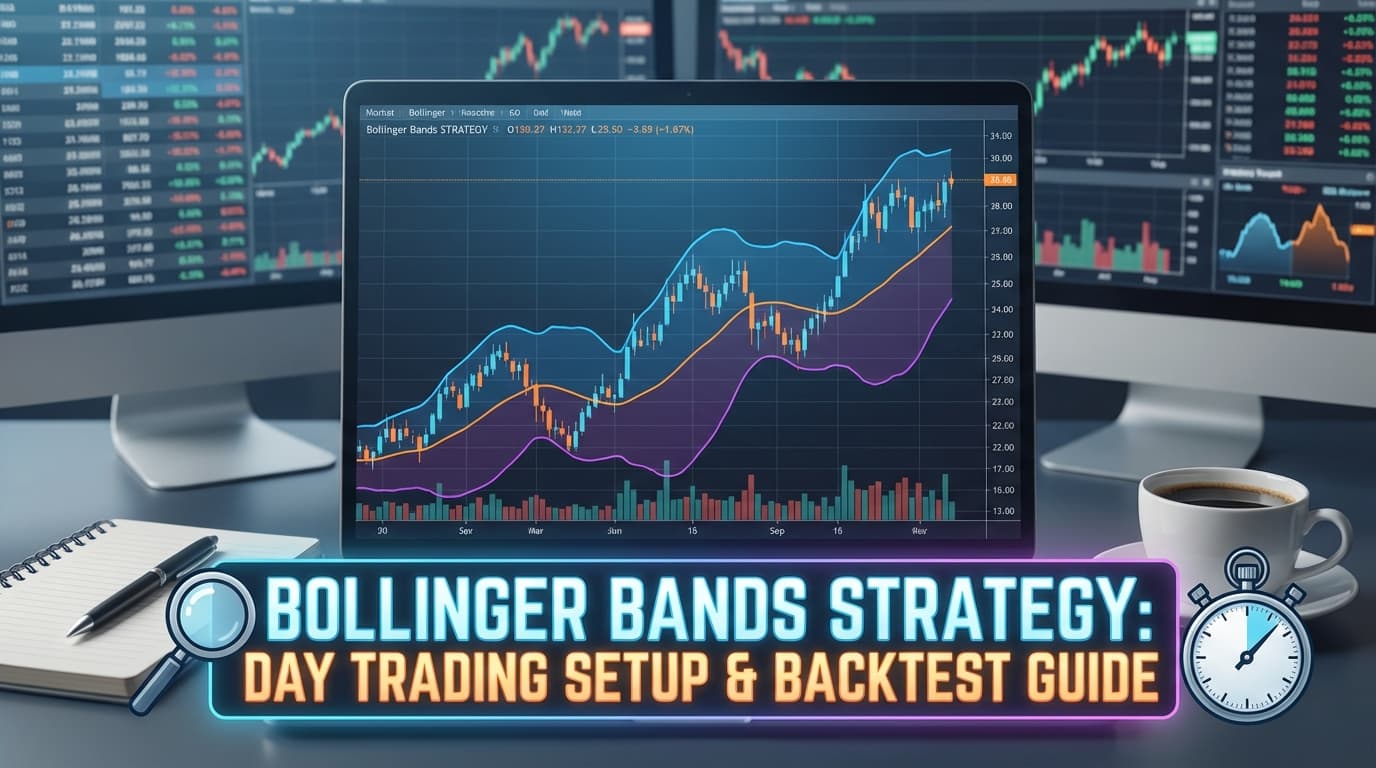
Bollinger Bands are one of the most versatile indicators for day trading. They show volatility, identify overbought/oversold conditions, and signal potential breakouts.
This guide covers the best Bollinger Bands strategies for day traders, complete with entry rules, risk management, and code you can backtest today.
What Are Bollinger Bands?
Bollinger Bands consist of three lines:
- Middle Band: 20-period Simple Moving Average (SMA)
- Upper Band: Middle band + (2 × standard deviation)
- Lower Band: Middle band − (2 × standard deviation)
Key properties:
- Bands expand when volatility increases
- Bands contract when volatility decreases
- ~95% of price action stays within 2 standard deviation bands
- Price touching bands doesn't automatically mean reversal
//@version=6
indicator("Bollinger Bands", overlay=true)

length = input.int(20, "Length")
mult = input.float(2.0, "Multiplier")

basis = ta.sma(close, length)
dev = mult * ta.stdev(close, length)
upper = basis + dev
lower = basis - dev

plot(basis, "Middle", color=color.gray)
plot(upper, "Upper", color=color.red)
plot(lower, "Lower", color=color.green)
fill(plot(upper), plot(lower), color=color.new(color.blue, 90))
Strategy 1: Bollinger Band Bounce (Mean Reversion)
The most popular BB strategy: trade reversals when price touches the bands.
How It Works
- Price touches lower band → potential long entry
- Price touches upper band → potential short entry
- Target: Middle band (20 SMA)
Entry Rules
Long Entry:
- Price closes below lower band
- Next candle closes back inside bands (confirmation)
- RSI below 30 for additional confirmation (optional)
Short Entry:
- Price closes above upper band
- Next candle closes back inside bands (confirmation)
- RSI above 70 for additional confirmation (optional)
Exit Rules
- Take Profit: Middle band (20 SMA)
- Stop Loss: Beyond the entry candle's low/high (or 1 ATR)
- Time Stop: Exit if target not hit within 5-10 bars
//@version=6
strategy("BB Bounce Strategy", overlay=true)

// Inputs
length = input.int(20, "BB Length")
mult = input.float(2.0, "BB Multiplier")
rsiLength = input.int(14, "RSI Length")
useRSI = input.bool(true, "Use RSI Filter")

// Indicators
basis = ta.sma(close, length)
dev = mult * ta.stdev(close, length)
upper = basis + dev
lower = basis - dev
rsi = ta.rsi(close, rsiLength)
atr = ta.atr(14)

// Long: Price below lower band, closes back inside
longCondition = close[1] < lower[1] and close > lower
longFilter = not useRSI or rsi < 40

// Short: Price above upper band, closes back inside
shortCondition = close[1] > upper[1] and close < upper
shortFilter = not useRSI or rsi > 60

if longCondition and longFilter
    strategy.entry("Long", strategy.long)
    strategy.exit("Exit Long", "Long", limit=basis, stop=low - atr)

if shortCondition and shortFilter
    strategy.entry("Short", strategy.short)
    strategy.exit("Exit Short", "Short", limit=basis, stop=high + atr)

// Plot bands
plot(basis, "Middle", color=color.gray)
plot(upper, "Upper", color=color.red)
plot(lower, "Lower", color=color.green)
Warning: The bounce strategy fails in trending markets. Price can "walk the band" for extended periods. Add a trend filter or only trade when bands are flat/contracting.
Strategy 2: Bollinger Band Squeeze Breakout
Trade explosive moves after periods of low volatility.
Understanding the Squeeze
When Bollinger Bands contract (squeeze), it signals:
- Decreasing volatility
- Market consolidation
- Potential breakout coming
Entry Rules
Breakout Long:
- Identify squeeze (Bandwidth at 50-period low)
- Wait for price to close above upper band
- Enter on breakout with momentum confirmation
Breakout Short:
- Identify squeeze (Bandwidth at 50-period low)
- Wait for price to close below lower band
- Enter on breakdown with momentum confirmation
//@version=6
strategy("BB Squeeze Breakout", overlay=true)

// Bollinger Bands
bbLength = input.int(20, "BB Length")
bbMult = input.float(2.0, "BB Multiplier")

basis = ta.sma(close, bbLength)
dev = bbMult * ta.stdev(close, bbLength)
upper = basis + dev
lower = basis - dev

// Bandwidth for squeeze detection
bandwidth = (upper - lower) / basis
squeezeLookback = input.int(50, "Squeeze Lookback")
isSqueezing = bandwidth <= ta.lowest(bandwidth, squeezeLookback)

// Momentum direction
momentum = close - ta.sma(close, bbLength)
momUp = momentum > 0 and momentum > momentum[1]
momDown = momentum < 0 and momentum < momentum[1]

// Squeeze release
wasSqueezing = isSqueezing[1] or isSqueezing[2] or isSqueezing[3]
squeezeRelease = wasSqueezing and not isSqueezing

// Entry signals
longCondition = squeezeRelease and momUp and close > upper
shortCondition = squeezeRelease and momDown and close < lower

atr = ta.atr(14)

if longCondition
    strategy.entry("Long", strategy.long)
    strategy.exit("Exit Long", "Long", stop=basis, trail_points=atr*2/syminfo.mintick, trail_offset=atr/syminfo.mintick)

if shortCondition
    strategy.entry("Short", strategy.short)
    strategy.exit("Exit Short", "Short", stop=basis, trail_points=atr*2/syminfo.mintick, trail_offset=atr/syminfo.mintick)

// Visuals
plot(basis, "Middle", color=color.gray)
plot(upper, "Upper", color=color.red)
plot(lower, "Lower", color=color.green)
bgcolor(isSqueezing ? color.new(color.orange, 85) : na, title="Squeeze")
Strategy 3: Double Bollinger Bands
Use two sets of Bollinger Bands for trend identification and entry zones.
Setup
- Outer Bands: 20 SMA with 2 standard deviations
- Inner Bands: 20 SMA with 1 standard deviation
Zone Interpretation
- Buy Zone (between lower bands): Oversold, potential reversal
- Sell Zone (between upper bands): Overbought, potential reversal
- Neutral Zone (between inner bands): No trade, wait for setup
- Trend Zone (above/below both bands): Strong trend, don't fade
//@version=6
strategy("Double Bollinger Bands", overlay=true)

length = input.int(20, "Length")
mult1 = input.float(1.0, "Inner Multiplier")
mult2 = input.float(2.0, "Outer Multiplier")

basis = ta.sma(close, length)
dev = ta.stdev(close, length)

// Inner bands (1 SD)
innerUpper = basis + dev * mult1
innerLower = basis - dev * mult1

// Outer bands (2 SD)
outerUpper = basis + dev * mult2
outerLower = basis - dev * mult2

// Zones
inBuyZone = close < innerLower and close > outerLower
inSellZone = close > innerUpper and close < outerUpper

// Entry signals
longCondition = inBuyZone[1] and close > innerLower and close > open
shortCondition = inSellZone[1] and close < innerUpper and close < open

atr = ta.atr(14)

if longCondition
    strategy.entry("Long", strategy.long)
    strategy.exit("Exit Long", "Long", stop=outerLower - atr*0.5, limit=basis)

if shortCondition
    strategy.entry("Short", strategy.short)
    strategy.exit("Exit Short", "Short", stop=outerUpper + atr*0.5, limit=basis)

// Plot all bands
plot(basis, "Middle", color=color.gray)
plot(innerUpper, "Inner Upper", color=color.orange)
plot(innerLower, "Inner Lower", color=color.orange)
plot(outerUpper, "Outer Upper", color=color.red)
plot(outerLower, "Outer Lower", color=color.green)

// Highlight zones
bgcolor(inBuyZone ? color.new(color.green, 85) : na)
bgcolor(inSellZone ? color.new(color.red, 85) : na)
Strategy 4: BB + RSI Divergence
Combine Bollinger Bands with RSI divergence for high-probability reversals.
Setup
Bullish Divergence:
- Price makes a lower low (touching or piercing lower band)
- RSI makes a higher low (bullish divergence)
- Enter long on confirmation
Bearish Divergence:
- Price makes a higher high (touching or piercing upper band)
- RSI makes a lower high (bearish divergence)
- Enter short on confirmation
Day Trading Tips for Bollinger Bands
Best Timeframes
- Scalping: 1-5 minute charts
- Day trading: 15-minute to 1-hour charts
- Swing trading: 4-hour to daily charts
Optimal Settings by Style
- Scalping: BB Length 10-15, Multiplier 1.5-2.0
- Day Trading: BB Length 20 (default), Multiplier 2.0
- Swing Trading: BB Length 20-50, Multiplier 2.0-2.5
When BB Strategies Work Best
✅ Ranging markets (bounce strategy) ✅ Low volatility before breakouts (squeeze strategy) ✅ Clear support/resistance (confluence) ✅ Mean-reverting assets (forex majors)
When BB Strategies Fail
❌ Strong trending markets (price walks bands) ❌ News events (bands expand too late) ❌ Low liquidity (gappy price action) ❌ Choppy sideways (false signals both ways)
Pro tip: Add a trend filter. Only take bounce longs when price is above 200 EMA, shorts when below.
Backtesting Your BB Strategy
Checklist Before Live Trading
- [ ] Tested on 1+ years of data
- [ ] Tested on multiple symbols
- [ ] Win rate and profit factor acceptable
- [ ] Maximum drawdown tolerable
- [ ] Average trade > transaction costs
- [ ] Results consistent across different periods
Key Metrics to Track
Bounce Strategy:
- Expected Win Rate: 50-60%
- R:R Ratio: 1:1 to 1.5:1
- Profit Factor: > 1.3
- Max Drawdown: < 15%
Breakout Strategy:
- Expected Win Rate: 35-45%
- R:R Ratio: 2:1 to 3:1
- Profit Factor: > 1.5
- Max Drawdown: < 20%
Building BB Strategies with HorizonAI
Create and customize Bollinger Band strategies instantly:
Basic prompts:
- "Create a Bollinger Band bounce strategy for EURUSD"
- "Build a BB squeeze breakout strategy with Keltner Channel confirmation"
- "Add RSI filter to my Bollinger Band strategy"
Advanced prompts:
- "Combine Double Bollinger Bands with MACD for entry confirmation"
- "Add time filter—only trade BB bounces during London session"
Risk management prompts:
- "Add ATR-based stop loss to my BB strategy"
- "Use the middle band as trailing stop after 1R profit"
FAQs
What's the best Bollinger Band setting?
The default 20-period, 2 standard deviation setting works for most situations. For faster signals, try 10-period with 1.5 SD.
Should I use Simple or Exponential MA?
Traditional BB uses SMA. Stick with SMA unless you have a specific reason to switch.
How do I avoid false signals?
Add confirmation: Wait for candle close, use RSI filter, require volume spike, or add trend filter.
Can I use Bollinger Bands for crypto?
Yes, but crypto volatility means bands expand significantly. Consider tighter multipliers or longer periods.
Bollinger Bands vs Keltner Channels?
BBs use standard deviation (captures volatility changes), Keltner uses ATR (smoother). Many traders use both together.
Summary
Bollinger Bands strategies for day trading:
- Bounce: Best for ranging markets, 50-60% win rate, 1-1.5:1 R:R
- Squeeze Breakout: Best for low→high volatility, 35-45% win rate, 2-3:1 R:R
- Double BB: Best for trend + zones, 45-55% win rate, 1.5-2:1 R:R
- BB + RSI Divergence: Best for high-probability reversals, 55-65% win rate, 2:1 R:R
Key takeaways:
- Bounce strategy = mean reversion, ranging markets
- Squeeze strategy = breakout, volatility expansion
- Always add confirmation (RSI, volume, candle patterns)
- Use trend filter to avoid fighting momentum
- Backtest thoroughly before day trading live
Related Articles
Master Bollinger Bands and day trading:
- Bollinger Bands Trading Strategy — Comprehensive BB guide
- Mean Reversion Trading Strategies — BB bounces and more
- Best Indicators for Day Trading — Top day trading indicators
- RSI vs MACD Comparison — Combine BB with momentum
- ATR Indicator Explained — Volatility for stops
- Trend Following Strategy Guide — BB squeeze breakouts
- EMA vs SMA Comparison — BB uses SMA
- How to Backtest a Trading Strategy — Test BB strategies
- Pine Script Tutorial for Beginners — Code BB setups
- Day Trading with SMC — Combine BB with SMC
Have questions about Bollinger Bands? Join our Discord to discuss with other traders!